Saturday, May 31, 2014

Leeks - after the harvest. And a great recipe.

In the previous post I mentioned that leeks don't get the culinary respect they deserve, which is unfortunate because they are a great addition to many dishes.  Their subtle sweetness really shines when sauteed in butter or olive oil, without the bite or sharpness typically found in onions.

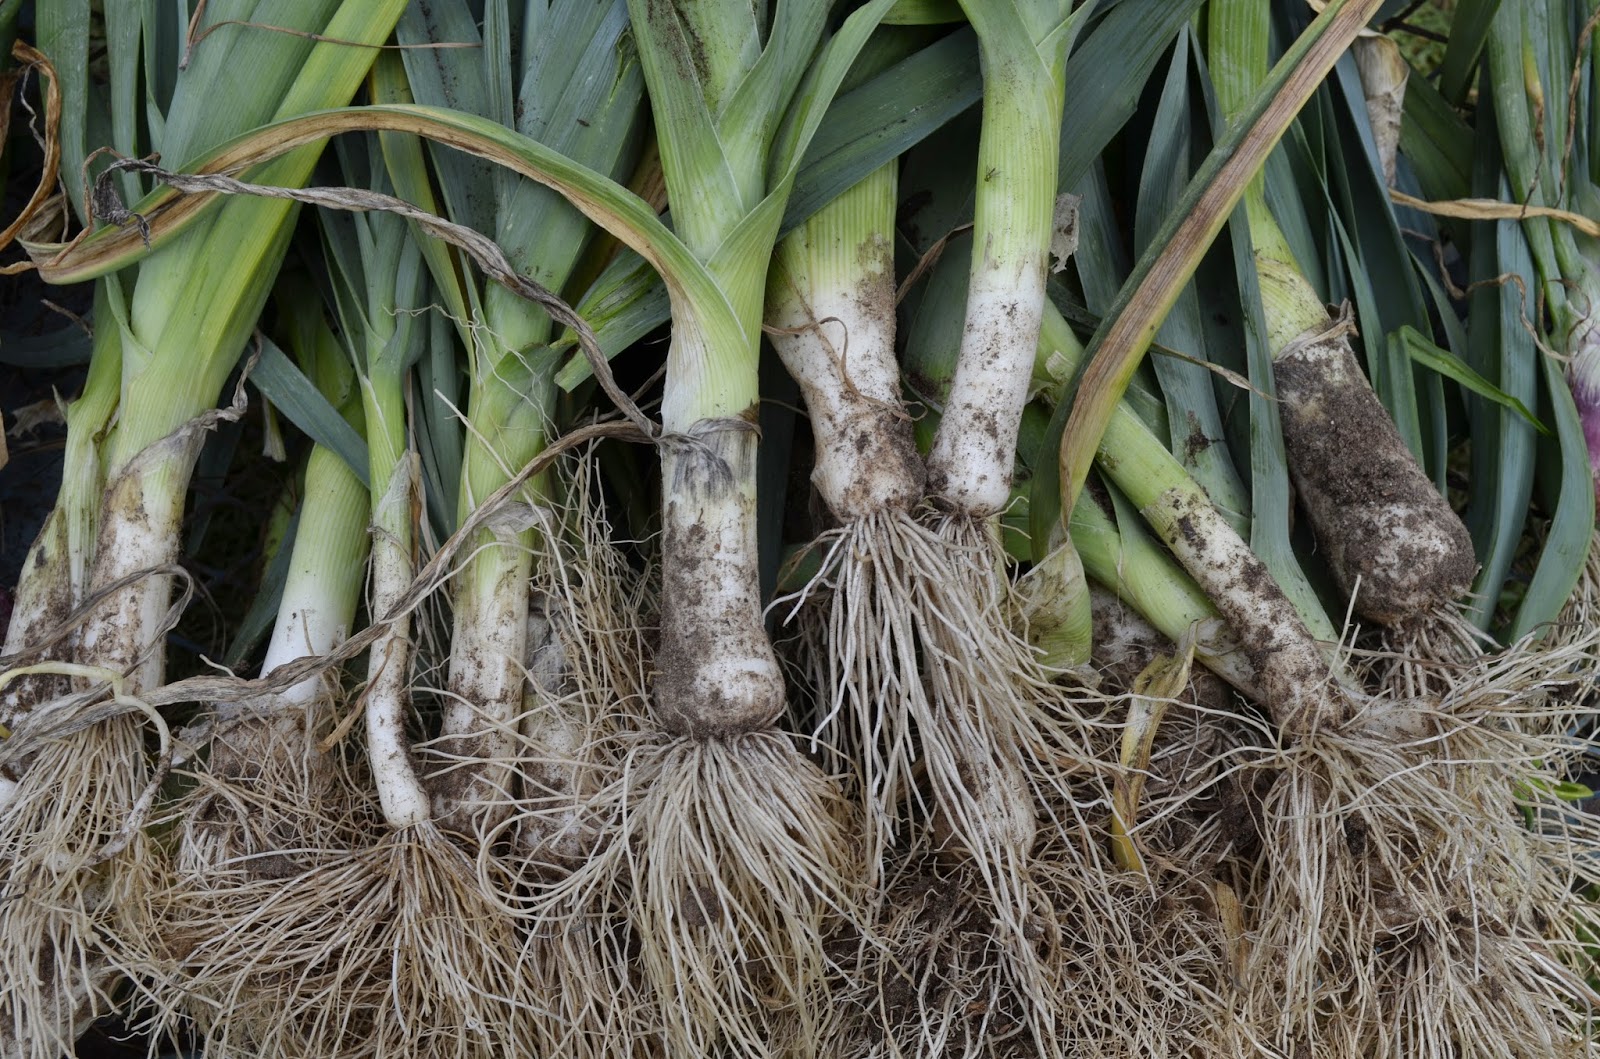
Leeks need to be thoroughly rinsed to eliminate all of the grit (dirt) that may hide out within the layers. This is easy to do with a couple of simple steps.

Cut off the root end and long tops, then peel away the outer layer.  Leeks will look clean but, as we all know, looks can be deceiving.

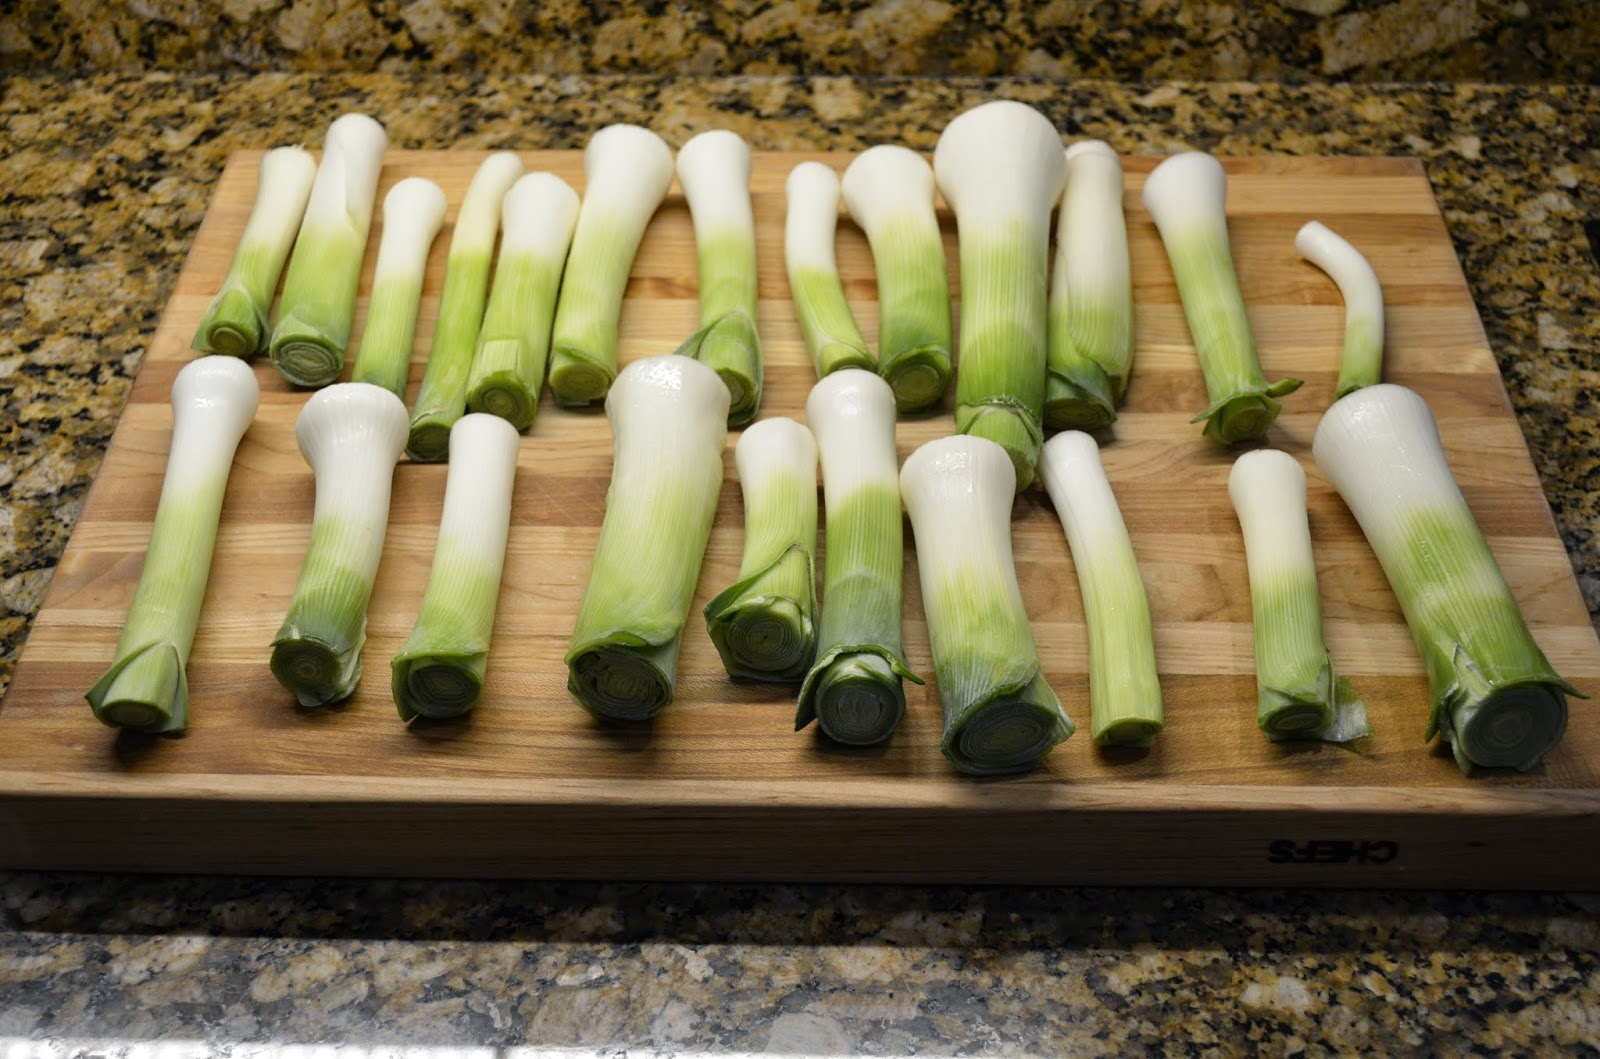
Root end and tops trimmed, outer layer removed


Slice the leeks in half lengthwise to expose the many "layers", which are actually leaf sheaths.


Carefully fan the layers apart while holding under gently-running water.  This will rinse out most traces of any dirt that could be hiding within the layers.  There may be a hard center stem which should be discarded.


Put long cut side of leek on cutting board and slice into thin slices.  


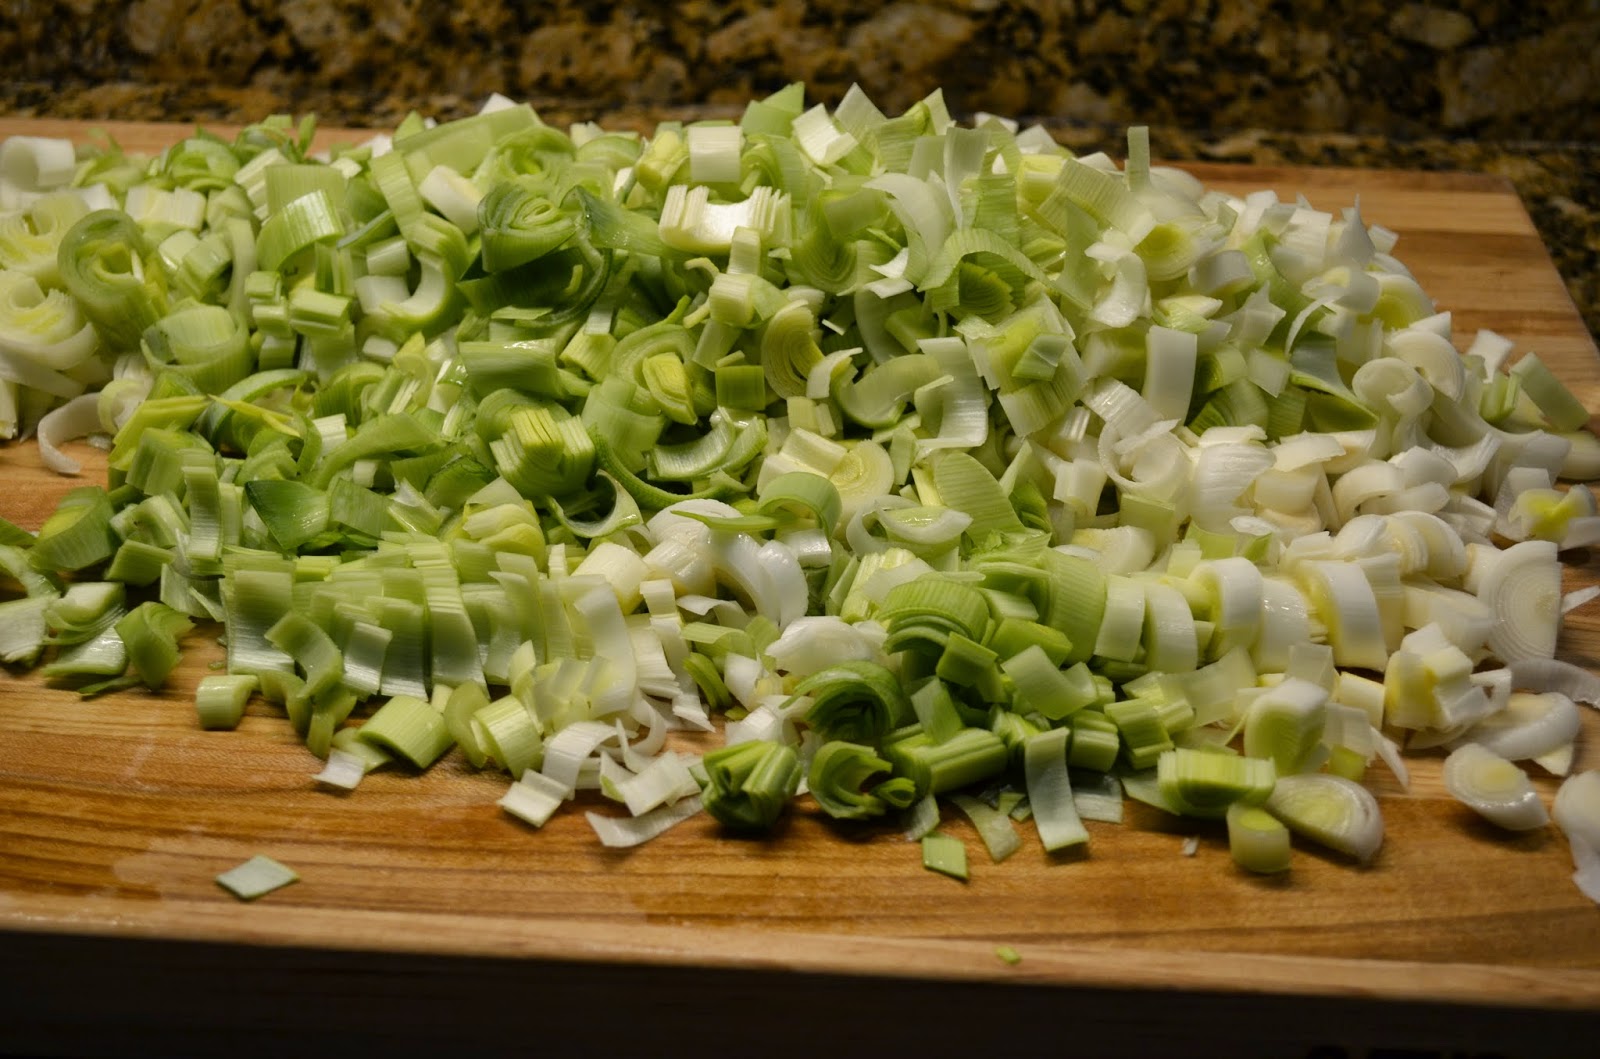
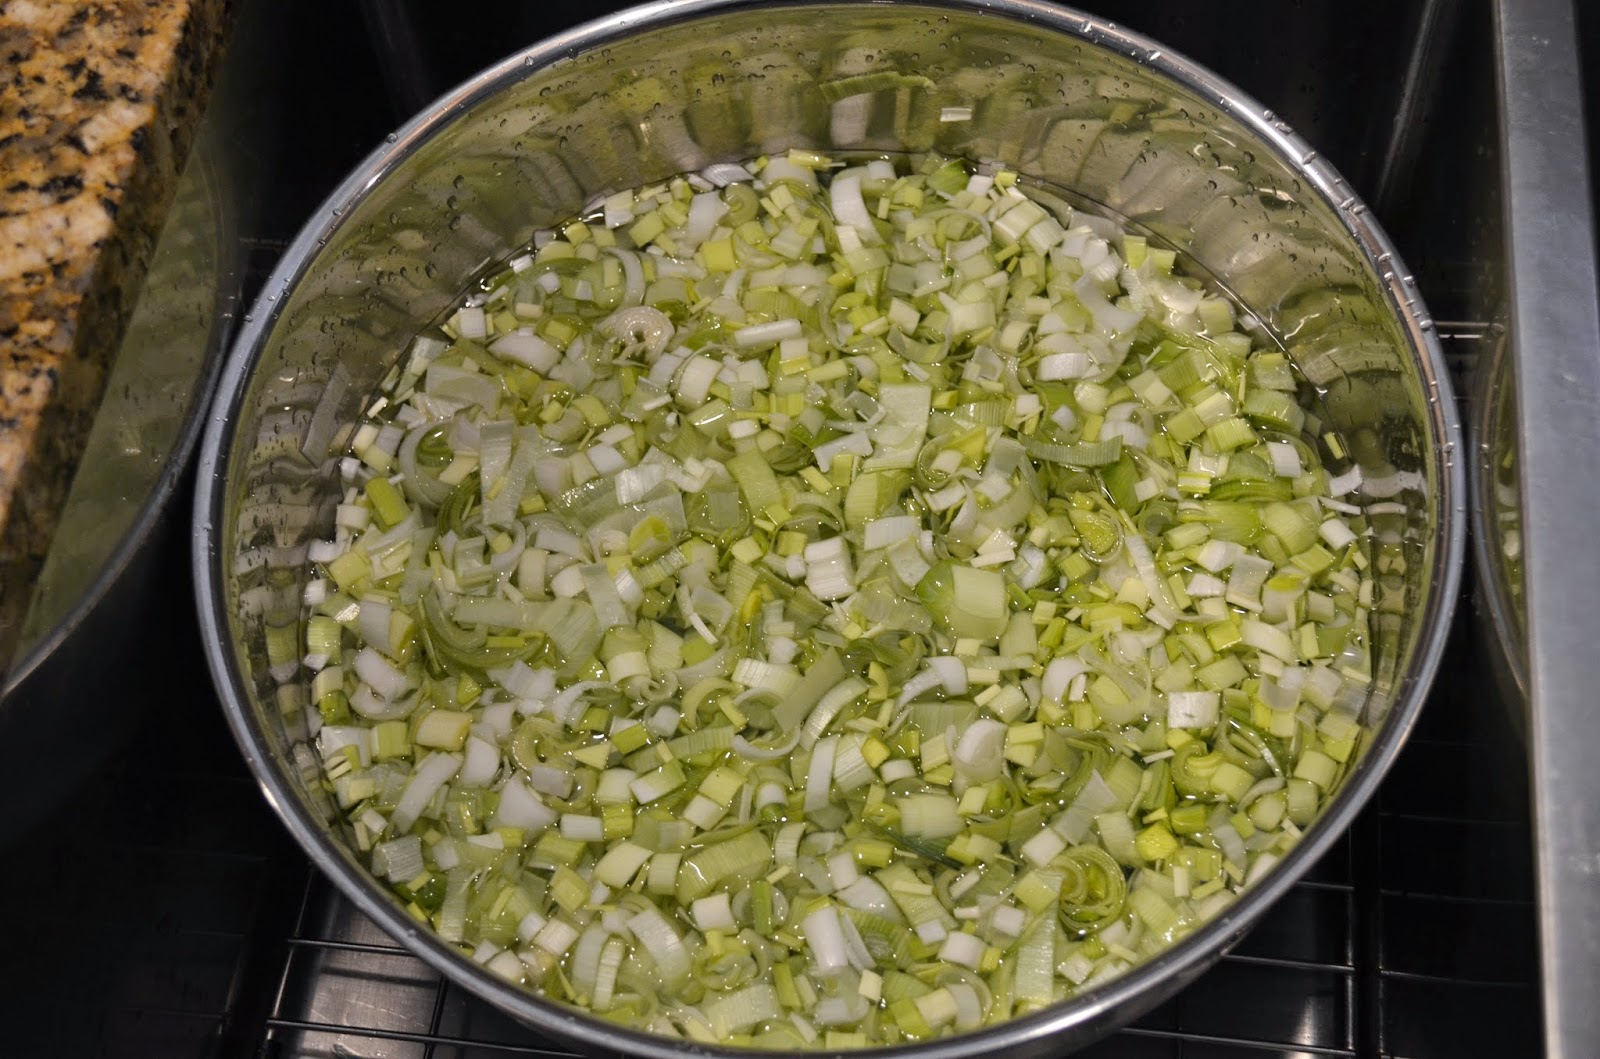
Put leek slices in large bowl and cover with plenty of cool water.  Gently swish leek slices in the water, then scoop out slices with large slotted spoon.  Any dirt remaining within the layers will be dislodged and will sink to the bottom of the bowl.


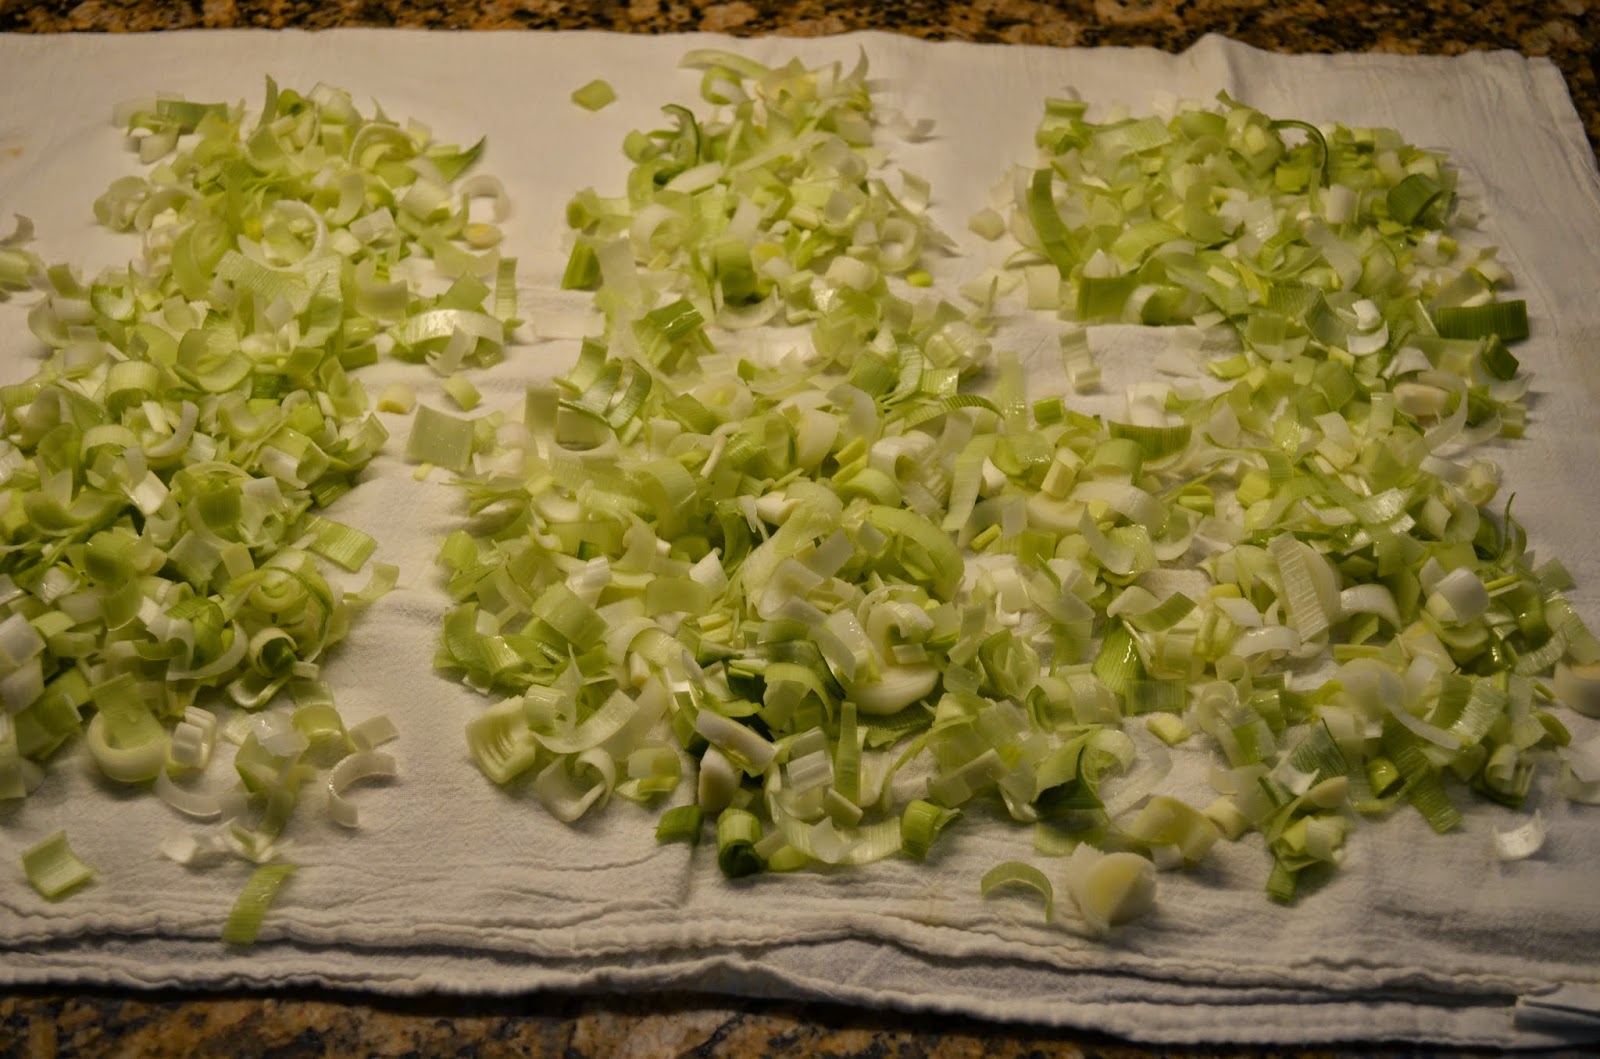
Put leek slices on clean dish towel or several layers of paper toweling to drain.


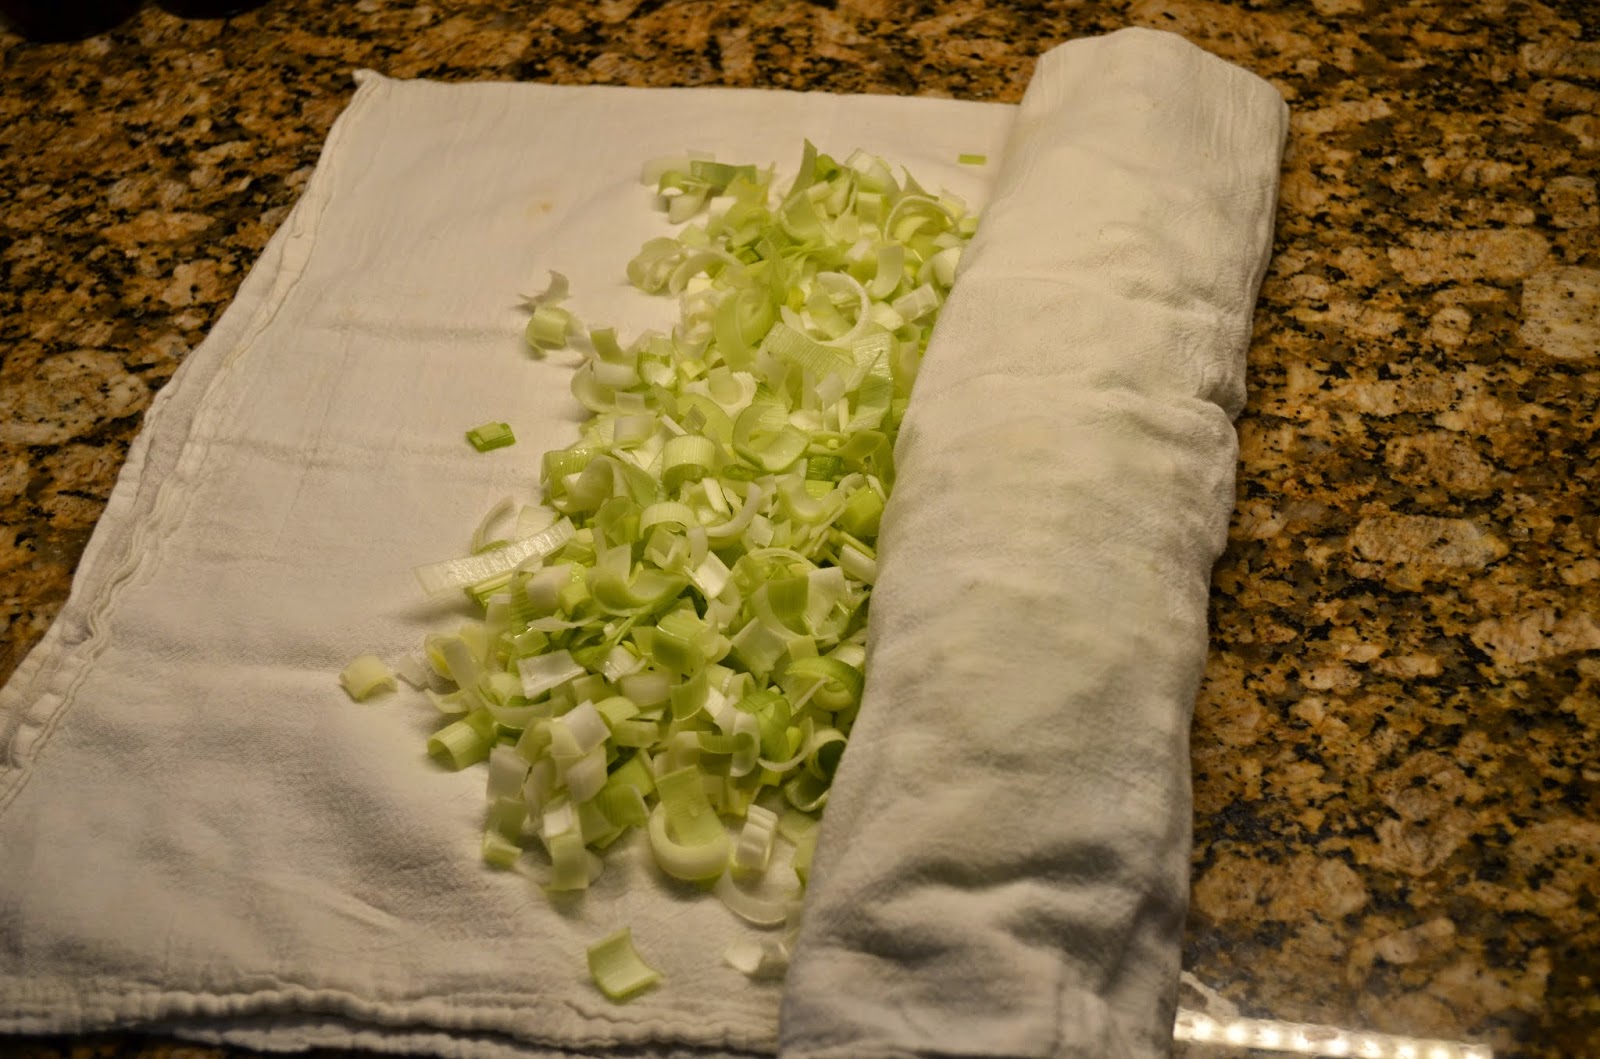
Roll dish towel or paper towel up loosely and let sit for a few minutes.  The towel will absorb excess moisture from the leeks.


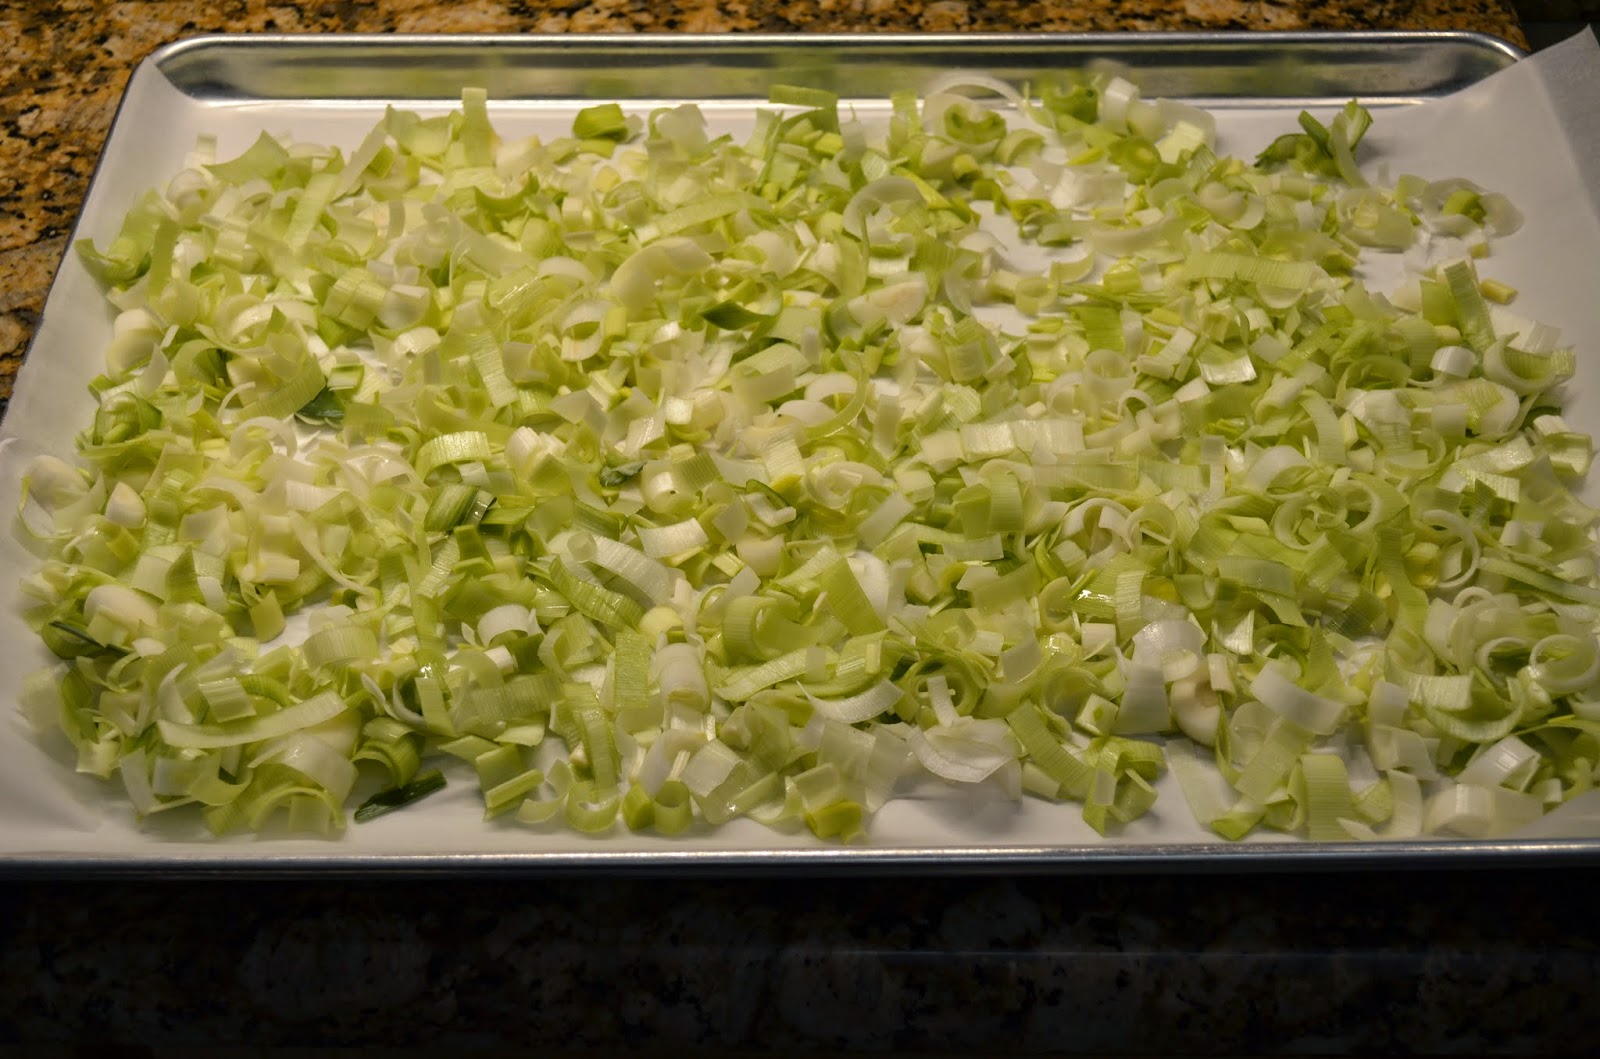
Put leek slices on parchment-lined rimmed baking sheet and put in freezer for several hours or overnight, then quickly transfer frozen leeks (they will begin to thaw within a minute or two) to a zipper freezer bag and store in freezer.  You now have fresh frozen, cleaned leek slices available when needed!


Carrot & Leek Soup

Ingredients:
  • 2 lbs. carrots
  • 3 large leeks (about 3 cups sliced leeks)
  • 3 garlic cloves, minced
  • 4 Tb. butter
  • 1 Tb. fresh thyme leaves (1 tsp. dried)
  • 1 tsp. lemon zest
  • 8 cups low-sodium vegetable stock (or chicken stock)
  • 1 cup white wine, like Sauvignon Blanc
  • 1/2 cup sour cream or creme fraiche
  • Salt and Pepper

Directions:

  1. Trim the carrots and chop them into rough 1/2 inch chunks. Trim the root-end off the leeks and cut the white section into quarters. Slice across into small 1/2 inch pieces. (Save the greens for homemade stock.) Place the chopped leeks in a colander and rinse thoroughly--they are often sandy.
  2. Place a large pot over medium heat. Add the butter, carrots, leeks and garlic and saute for 10 minutes, stirring regularly.
  3. Then add the thyme, lemon zest, stock, wine, 1 tsp. salt, and pepper to taste. Cover and bring to a boil. Stir and cover again. Simmer for 20-25 minutes, until the carrots are soft.
  4. Ladle the soup into a high-powered blender. (You might have to do this in two batches.) Place the lid on the blender and open the top vent for steam. Lay a dish towel over the top of the blender and hold firmly as you turn the blender on. Pressure from blending hot liquids can blow the top off and burn you, so be careful--open vent, cover with towel, hold tight! Puree until smooth. Then add the sour cream to the blender and puree again.
  5. Pour both batches back into the sauce pot and stir to blend. Serve warm.


Thursday, May 22, 2014

Allium Harvest

Alliums - Leeks and Onions  


The last post detailed our recent garlic harvest.  Today I harvested the first batch of leeks and purple onions. Still more in the garden that will be ready over the next couple of weeks.  

It doesn't seem like many people grow leeks.  Not as popular as garlic and onions, they are nonetheless an important part of my spring and fall garden.  I clean them well, slice thinly, freeze on rimmed cookie sheets and pack into zipper freezer bags to store in the freezer until needed.  Yes, a bit of work initially but well worth it.  Sauteed leeks are good in so many dishes.  And potato/leek soup... delicious!  

The next post will show how to thoroughly clean leeks.  It is easy, but there are a couple of key steps necessary to insure there is no dirt/grit remaining in the crevices.   

Leeks - just pulled from the garden


Like garlic, onions require a curing time prior to storage.  The fleshy leaves need to dry out so the neck doesn't grow mold during storage.  Nobody wants to cut into an onion that is moldy in the center.  If properly cured and stored onions will stay good for several months.  

First batch of purple onions... more to come!

The best onion storage facility is a cool basement.  But who is lucky enough to have a cool basement in Texas?   Not me, so I have to improvise as best as possible.  I have converted one of the bedrooms in our house into a large pantry/storage room.  The floor is ceramic tile so it stays (somewhat) cool.  I put large pieces of cardboard down and spread the onions out, spacing a bit so they are not crowded.  Even though we set our air conditioner to the mid-70's the onions stay good for several months.  The optimum temperature for storage is the 50 to 60-degree range, but of course that is not possible in Texas in the summer.  The mid 70's doesn't seem to cause much of a problem though.  

Organic, sustainable, natural.  


Tuesday, May 20, 2014

The Garlic Chronicles

Garlic is in the air... literally.  Over 200 heads of garlic are hanging/curing in the breezeway of our barn and the fresh garlic aroma wafting through the air is definitely not something typically associated with barns.   But if you're a garlic lover that wonderful aroma is a promise of good things to come!


First batch just pulled, ready to be hung in breezeway


Large, full heads!
Our breezeway is the perfect place for garlic to cure.  The north/south barn openings allow for good air circulation which is essential for the curing process.  Curing garlic is important:  it dries out the "neck" (just above the head) which greatly minimizes the chance for mold during storage, and the leaves dry out, transferring their energy to the head.  


Each garlic plant is tied onto strong baling twine put up in a zig-zag configuration in the hay area of our barn.  This tying process is time consuming, but it is also extremely satisfying - I get to admire each and every beautiful, fat, garlic head.  


About 250 heads of garlic!

The next step after curing is trimming and cleaning each head.  The long tops are cut off just above the head, the bottom roots are trimmed close, and a soft brush is used to gently clean any residual dirt clinging to the head.  Then it is time for good eating or storing in a cool place for planting in the fall (called seed garlic).  

I have been planting my own seed garlic for at least seven years, and the heads are larger and more uniform with each passing year.  

Stay tuned... some of this fresh, organic garlic will be offered for sale later in June.